Configuring JWT Authorization in Swagger UI with Spring Boot

In a secure REST API, it's important to authenticate requests — especially when using JWT tokens. When integrating Swagger UI using springdoc-openapi, we can also configure it to include a JWT Authorization header so developers can test secured endpoints easily.
In this tutorial, we’ll walk through how to configure JWT Bearer Authorization in Swagger UI step by step.
Prerequisites
You should have a working Spring Boot application secured with Spring Security and JWT authentication already implemented.
Step 1: Add Swagger/OpenAPI Dependency
Add the springdoc-openapi dependency to your pom.xml:
<dependency>
    <groupId>org.springdoc</groupId>
    <artifactId>springdoc-openapi-starter-webmvc-ui</artifactId>
    <version>2.8.6</version>
</dependency>
This enables auto-generation of OpenAPI docs and the Swagger UI at /swagger-ui.html.
Step 2: Create Swagger Configuration Class
The configuration file tells Swagger to use the JWT Bearer scheme for authorization.
SwaggerConfig.java
package com.example.pharmacy_management_server.config;

import io.swagger.v3.oas.annotations.enums.SecuritySchemeType;
import io.swagger.v3.oas.annotations.security.SecurityScheme;
import org.springdoc.core.models.GroupedOpenApi;
import org.springframework.context.annotation.Bean;
import org.springframework.context.annotation.Configuration;

// Define a security scheme for JWT Authorization in Swagger
@SecurityScheme(
    name = "Authorization",                // Name used in @SecurityRequirement
    type = SecuritySchemeType.HTTP,       // HTTP auth type
    bearerFormat = "JWT",                 // Indicate it's a JWT token
    scheme = "bearer"                     // Use the bearer authentication scheme
)
@Configuration
public class SwaggerConfig {

    // Group all APIs under "public" and expose all routes
    @Bean
    public GroupedOpenApi publicApi() {
        return GroupedOpenApi.builder()
                .group("public")
                .pathsToMatch("/**")
                .build();
    }
}
Step 3: Secure Specific Endpoints
Now, for any endpoint you want to protect with JWT and require users to authorize via Swagger UI, annotate the controller method or class with @SecurityRequirement.
Example: UserController
package com.example.pharmacy_management_server.controller;

import com.example.pharmacy_management_server.model.User;
import com.example.pharmacy_management_server.service.UserService;
import io.swagger.v3.oas.annotations.security.SecurityRequirement;
import org.springframework.http.ResponseEntity;
import org.springframework.security.core.annotation.AuthenticationPrincipal;
import org.springframework.security.core.userdetails.UserDetails;
import org.springframework.web.bind.annotation.*;

import java.util.UUID;

@RestController
@RequestMapping("/api/users")
public class UserController {

    private final UserService userService;

    public UserController(UserService userService) {
        this.userService = userService;
    }

    // Secure this endpoint with JWT token in Swagger UI
    @SecurityRequirement(name = "Authorization")
    @GetMapping("/{userId}")
    public ResponseEntity<User> getUserById(
            @PathVariable UUID userId,
            @AuthenticationPrincipal UserDetails userDetails
    ) {
        if (userDetails == null) {
            return ResponseEntity.status(403).build();
        }

        User user = userService.getUserById(userId);
        return ResponseEntity.ok(user);
    }
}
Explanation:
-
@SecurityRequirement(name = "Authorization"):
This tells Swagger that this endpoint requires a JWT token using the"Authorization"scheme defined earlier. -
When users try this endpoint from Swagger UI, they will see an Authorize button. Once they enter their token (e.g.,
Bearer eyJhbGciOi...), Swagger will include it in theAuthorizationheader for all secured endpoints.
Step 4: Testing in Swagger UI
Once everything is set up:
- Go to:
http://localhost:8080/swagger-ui.html - Click the Authorize button at the top-right
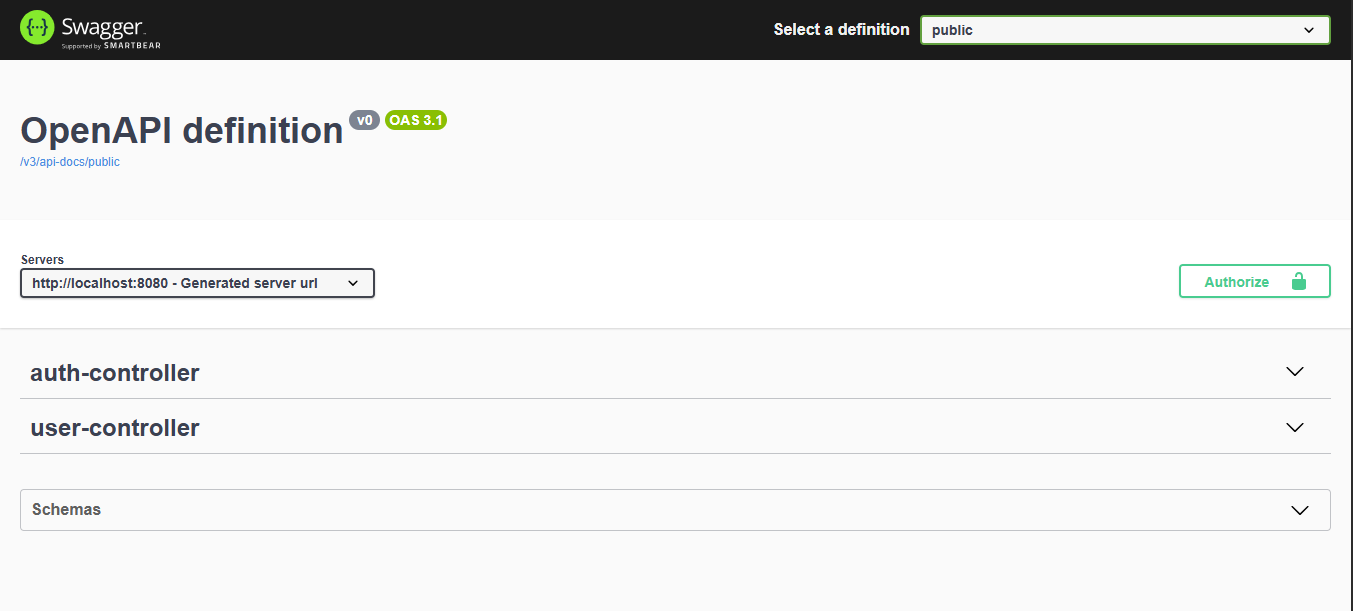
- Enter your JWT token:
Bearer eyJhbGciOiJIUzI1NiIsInR5cCI6IkpXVCJ9... - Try calling secured endpoints — the
Authorizationheader will now be automatically included.
Conclusion
Adding JWT authorization to Swagger UI helps you test your secure endpoints without using external tools like Postman. By defining the security scheme and annotating secured endpoints properly, you can integrate token-based authentication smoothly into the developer experience.